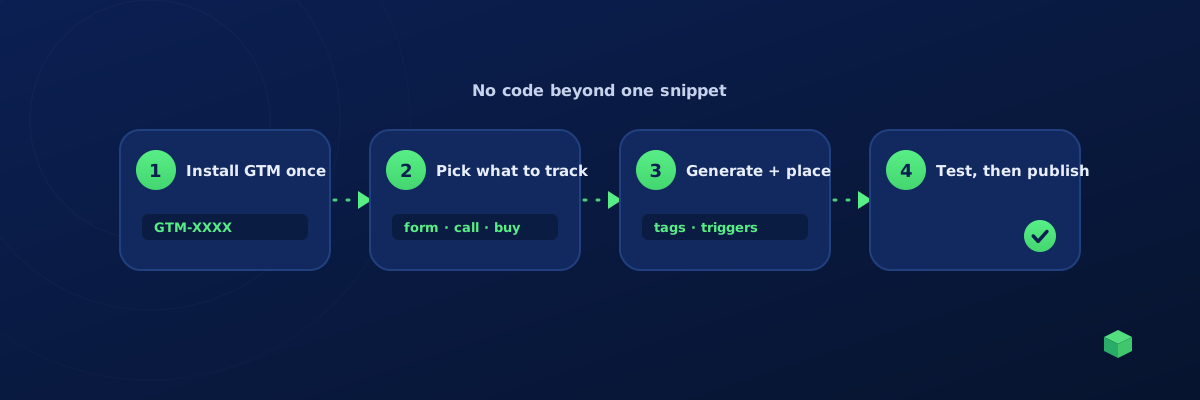
You can set up conversion tracking for GA4, Google Ads and Meta without a developer. The only code you touch is one Google Tag Manager snippet, which every major website platform has a field for. Everything after that is configuration, and the part that used to need a developer, writing the triggers for your specific buttons and forms, can now be generated from a scan of your site. Here is the full route, in order, with the checks that stop you publishing something broken.
Step 1: decide what counts as a conversion
Write down the three to five actions that actually mean money or a lead. For a service business that is usually a contact form, a phone click and a booking. For a shop it is add to cart, begin checkout and purchase. For a SaaS site it is sign-up and a demo request. Resist tracking everything; five clean conversions beat thirty noisy events.
Step 2: install Google Tag Manager, once
Create a free GTM account, create a web container, and paste the snippet into your platform's header field. WordPress has it in most themes and every SEO plugin, Shopify in theme.liquid or its customer events area, Webflow and Squarespace in code injection, Wix in custom code. The GTM for beginners guide has the exact clicks for each. From here on you never edit site code again, which is the whole point of GTM. If you are unsure why GTM and GA4 are both needed, read GA4 vs Google Tag Manager first.
Step 3: gather your IDs
- GA4 Measurement ID (starts with G-), from Admin, Data Streams.
- Google Ads conversion ID and label, from Goals, Conversions, when you create a conversion action. Our Google Ads conversion guide walks through it.
- Meta Pixel ID, from Events Manager. See Meta conversion tracking.
If tracking was set up before, some of these are already on the site. A scan detects them so you reuse the right IDs rather than creating duplicates. The free tracking detector does this without an account.
Step 4: generate the tags and triggers for your site
This is the step that used to need a developer. A tag in GTM is easy; the trigger is hard, because it has to match your site. "Form submission" means a different signal on Gravity Forms, Contact Form 7, HubSpot embeds, Webflow forms and Shopify contact forms. A button needs a selector that survives a redesign. A purchase needs the order ID and value read from your confirmation page.
With a scanning generator, you paste your URL, pick the events from step 1, choose the channels, and the tool writes the tags, triggers and variables with the right selectors and event names, then adds them to your GTM workspace. Nothing publishes yet. If you would rather do it by hand, the form submission guide and button click guide show the manual triggers for common plugins.
Step 5: test in Preview mode before publishing
Open Preview in GTM, connect it to your site, and do each conversion for real: submit the form, click the phone number, place a test order. For each one, confirm:
- The right tag fired, and fired once. Two purchase tags on one order is the most common expensive mistake.
- GA4 DebugView shows the event with the parameters you expect.
- Meta's Test Events tab shows the event with the matching name.
Step 6: publish and confirm in each platform
Submit and publish the container. Within a day, check that GA4 shows the events, that the Google Ads conversion action changes from "Inactive" to "Recording conversions", and that Meta Events Manager shows recent activity. Then mark the GA4 events that matter as key events so they can be imported into Google Ads bidding.
Step 7: keep it working
Tracking does not stay set up. Theme updates change class names, checkout apps change the confirmation page, a colleague publishes a GTM version that overwrites yours. Decide now how you will notice. Either check GA4 Realtime weekly, or use monitoring that alerts you when an event that normally fires goes quiet. How do you know if your tracking is broken? lists the signs and the checks.
What you still cannot do without a developer
Be realistic. Server-side tagging, custom data layers for unusual checkouts, and tracking inside heavily custom web apps still benefit from a developer. For the standard cases, forms, clicks, calls, bookings, standard e-commerce on the common platforms, you do not need one.
Where TrackingCoder fits
TrackingCoder is step 4 done for you. It scans your site, detects the platform, forms and existing IDs, and lets you pick from 450+ events. One click places every tag, trigger and variable in your Google Tag Manager workspace, with the correct event name for GA4, Meta, Google Ads, LinkedIn and Microsoft Ads. The integration is verified by Google, and you still test and publish yourself. 5 free credits a month, no card. For step 7, TC Pro watches every event on every site you manage and alerts you the day one stops.